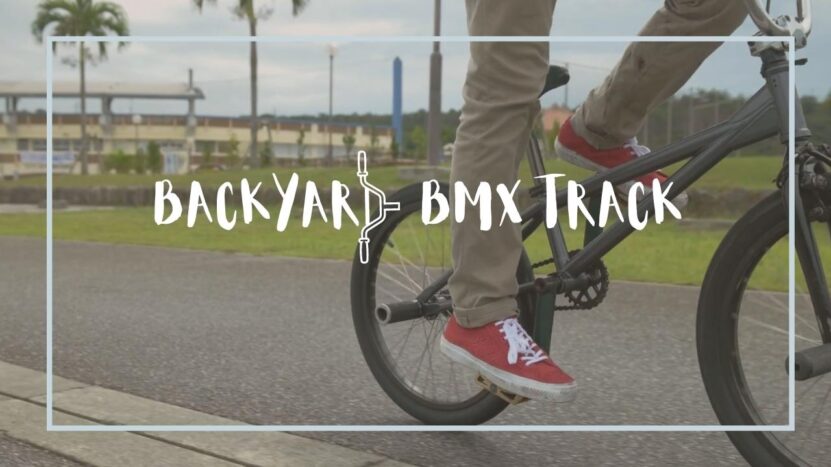
BMX biking is an exhilarating, challenging, and rewarding sport. For those of us bitten by the BMX bug, having a place to practice and perfect our skills is a dream. Imagine a world where you don’t need to travel far to get your BMX fix; in fact, you can simply step out into your backyard. Well, that world can be a reality if you’re prepared to roll up your sleeves and build your own backyard BMX track.
In this guide, we’ll provide you with a step-by-step guide on how to construct a functional, safe, and exciting BMX pathway right in your backyard.
Design and Planning
Before you start moving dirt, it’s important to plan your track. Sketch out a rough design on paper, keeping in mind your available space and the features you want to include. Incorporate elements that cater to your skill level and the kind of BMX riding you’re interested in – racing, freestyle, or a mix.
- Think about corners, jumps, and straights.
- Consider the flow and rhythm of the course.
Consider the space in your yard and how you can best utilize it. Remember, safety comes first – leave enough room around the track for emergency access, and take into account potential hazards like trees or fences.
Gathering Tools and Materials
Once your plan is ready, it’s time to gather the tools and materials. Your list of tools might include the following:
- Shovels and rakes for moving and smoothing dirt
- A wheelbarrow for transporting dirt
- A watering hose for compacting the dirt
As for materials, the most crucial one is dirt. Depending on the size of your track, you may need quite a lot. Topsoil is the best option as it’s easy to shape and compact. It may be beneficial to consult a landscaping or construction company that can deliver dirt in bulk.
Marking

With your plan, tools, and materials ready, it’s time to mark out your pathway. Use string, wooden stakes, or even just a long hose to mark the outline of the track based on your design. This will provide a clear visual guide when you start the construction.
Take into account the width of the pathway. A good starting point is to aim for a width of 1.5 to 2 meters, but this can be adjusted based on your preference and available space. The key is to maintain consistency, ensuring the track is of even width throughout.
Creating The Base
The foundation of a good track is a well-made base. Start by removing any grass or other vegetation from the marked-out area. This ensures a smooth surface to lay down the dirt.
Next, start laying down the dirt. Spread it evenly over the entire track area, keeping the track’s width consistent. Use a rake to help distribute the dirt and create a flat, even surface.
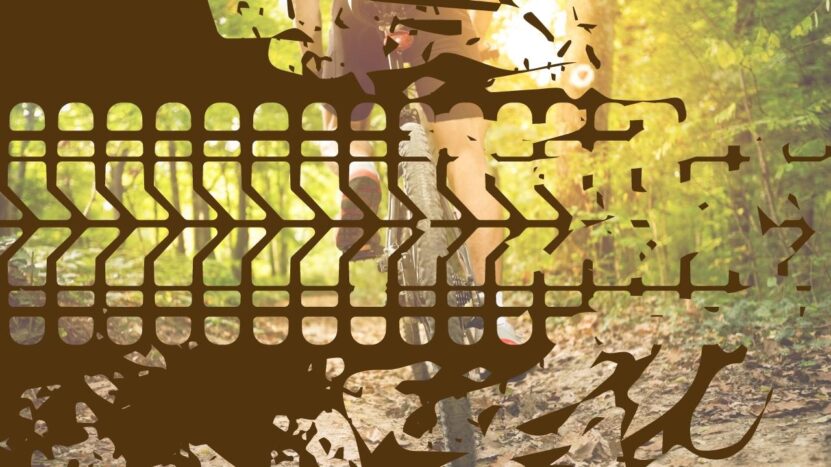
Building Jumps and Corners
Now, the real fun begins – shaping jumps and corners. When building jumps, make sure to start small and gradually build up. Each jump consists of two parts: the takeoff (or lip) and the landing.
- The takeoff should be steep but smooth, allowing for lift.
- The landing needs to be longer and less steep, enabling a safe touchdown.
When it comes to corners, you’ll want to build berms – banked corners that help you maintain speed. The shape of the berm should be smooth and consistent, allowing for a fluid ride.
Smoothing and Packing
With the track layout complete, focus on smoothing and packing the dirt. Use the back of a rake or a manual tamper to pack the dirt down until it’s hard and compact. This not only makes the track ride faster but it also helps maintain the track’s shape and ensures its longevity.
It’s crucial to pack the dirt when it’s slightly damp, so use a watering hose if needed. Just ensure the dirt isn’t too wet, or it will become slippery and difficult to shape.
Walk and Test
Once the track is shaped and packed, walk the entire length of it. Look for any rough spots, uneven areas, or potential safety hazards. Adjust the pathway as needed.
After this, the most exciting part arrives – testing. Ride your bike slowly around the track, feeling for any sections that don’t flow right or need adjustment. This is also a good time to assess the difficulty of the track. Remember, it’s easier to make the track more challenging than to scale it back, so start easy and work your way up.
Adjustments and Maintenance
The creation of a BMX pathway isn’t a one-time job. It requires consistent maintenance to keep it in good riding condition. Regularly check the track for signs of wear, especially after heavy use or rain.
Don’t be afraid to make adjustments as you go. Perhaps a jump could be a bit bigger, or a corner needs more of a berm. Your backyard BMX track should evolve with your skills, providing you with a constant challenge.
Add Variety
Once you’ve got the basics down, consider adding some variety to your track. Different elements can provide new challenges and keep your riding experience fresh. Consider:
- Adding table tops or step-ups
- Building a rhythm section
- Including a manual or whoops section
Each of these elements brings a new skill to master, ensuring your backyard BMX track remains a source of endless fun and progression.
Safety Measures
Lastly, and perhaps most importantly, consider safety. Ensure that the track is safely away from any hazards, such as walls, trees, or fences. Be mindful of non-riders, particularly children and pets, who may venture onto the pathway.
Always wear appropriate safety gear when riding – a helmet is a must, and knee and elbow pads are highly recommended.
How to Improve Your Backyard BMX Track
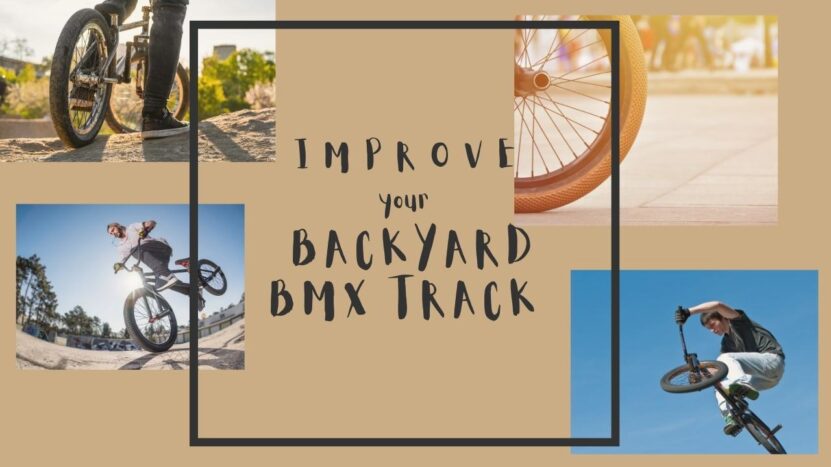
Now that you’ve built your own backyard BMX track, you’re probably wondering how you can enhance it. Improvement is the essence of BMX riding, and your pathway should reflect that. Here are some additional insights to make your backyard BMX track even more enjoyable and challenging.
1. Lighting
If you find yourself itching to ride even when the sun goes down, consider adding lighting to your track. This extends your riding hours and adds an exciting night-riding experience.
- Solar-powered lights are an eco-friendly option.
- Ensure the lighting is bright enough to illuminate the track without blinding riders.
- Position the lights strategically to avoid creating shadows that might affect visibility.
Remember, safety should always be your top priority, so ensure the lights are securely installed and are not a hazard for riders.
2. Landscaping

To enhance the visual appeal of your track, consider integrating some landscaping elements. Not only can this make your pathway more aesthetically pleasing, but it can also provide natural obstacles and challenges.
- Plant grass around the track to prevent erosion and dust.
- Create natural jumps and obstacles using logs or rocks.
- Be creative, but always consider safety and functionality.
3. Seating Area
If you often have friends over to ride or watch, creating a seating area can be a great addition. This provides a comfortable spot for spectators and a place for riders to rest and socialize between sessions.
- Use outdoor-friendly materials for the seating area.
- Ensure the seating area has a good view of the track but is safely distanced from it.
4. Building a Pump Pathway Section
A pump track is a looping trail system of dirt berms and rollers for bicycling without the rider pedaling. Gaining speed is achieved by “pumping” — moving up and down with the bike through the rollers and around the berms.
Adding a pump track section can bring a new element of challenge to your track. It helps improve your bike handling skills, control, and rhythm.
5. Drainage
Good drainage is vital for the longevity and usability of your track. Poor drainage can lead to waterlogging, which can damage your pathway and make it unsafe or unpleasant to ride.
- Consider the natural flow of water in your backyard when designing the track.
- You may need to construct ditches or channels to guide water away from the track.
6. Sound System
If you love riding to music, consider installing an outdoor sound system. This can enhance the atmosphere and energy of your backyard BMX track. Be sure to consider your neighbors and local noise regulations.
7. Regular Updates
Keep your track challenging and exciting by regularly updating its design. As your skills improve, you can add new features, increase the size of jumps, or adjust corners and berms. This will keep you constantly improving and ensure you never get bored with your track.
8. Involve Your BMX Community

Get feedback from your friends and the local BMX community. Their input can provide valuable insights into how you can improve your track. Plus, it can be a lot of fun to work together on track improvements.
9. Safety Check Routine
Create a routine safety check for your pathway. Regularly inspect for any hazards, check the stability of jumps and berms, and ensure your track is safe to ride. This is particularly important after bad weather or extended periods without use.
10. Enjoy!

Finally, remember that the goal of your backyard BMX track is to have fun. Take pride in the hard work you put into your track, and enjoy every moment you spend riding it. The more you ride, the more you’ll understand how you can improve.
Closing Thoughts
Congratulations! You now have the blueprint for creating your own backyard BMX track. Remember, the most important part of this process is to have fun. Building a track requires hard work and dedication, but the reward is a personal BMX haven that provides endless hours of riding right at your doorstep. So grab your shovel, sketch your design, and let’s start building!